Good day to one and all. For those that know me I've been doing this hobby for more years than I care to mention and have improved the collecting, building and playing sides over those many years.
You'll note that painting is missing from that list. Although it has probably improved I don't think I've ever really knuckled down to learning painting and this was something I wanted to address. You see I have so many armies now that speed painting a new one doesn't appeal so much: what I really want to do is take my time and paint up a new and improved army. The next one to be done are the Space Wolves.
During the Summer my son and I spent a week at Warhammer World on what they call a Hobby Camp. You basically spend the whole week from 9 to 5 every day doing your hobby: so you'll build, paint and play. You have access to the staff who will show you how to do whatever it is you want to do. So I decided I really wanted to take my 2D painting and turn it 3D.
My Wolf Scouts won me a Best Painted Unit award at the end of the week as they liked the improvements I'd shown - that was special! I will post them but they're not yet finished and so you'll have to wait.
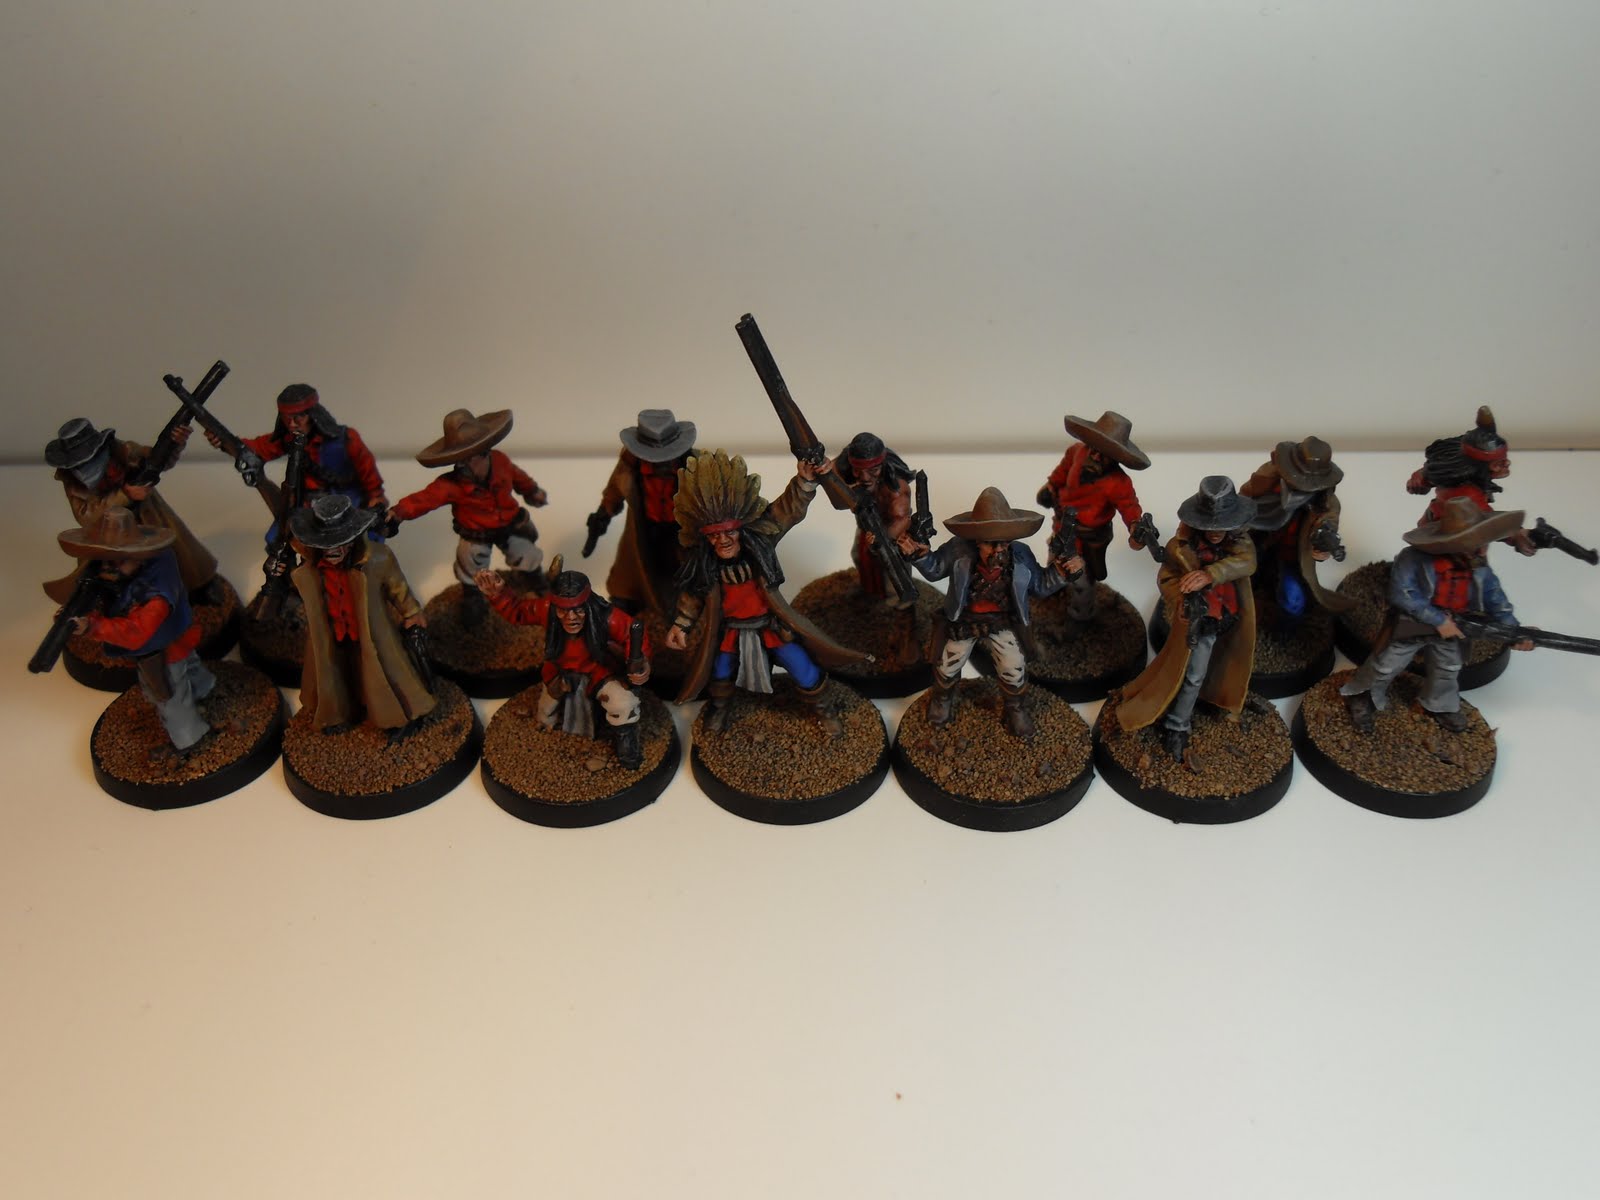
In the meantime I then decided I needed to practice what I learnt and so the cowboys you see in the pictures below have been painted in the last 2 weeks.
So what's new? Layering. Note the shading in the trousers and shirts - done with layering primarily rather than washes.

Highlighting - although I knew the concept I'd never studied the colour hierarchy. Here you'll note highlights on the trench coats, jackets and hats primarily.

Strong Colours - I've used the red shirts on all the models to tie them together as a posse rather than a bunch of individuals. Up to now red has always been a pain to paint for me but with layering and working up to Blood Red it's so much easier!

This shot gives a better view of the hat highlighting. The bases are a simple sand washed with Devlan Mud and then drybrushed lightly with Graveyard Earth.

One of the biggest things I learnt was watering down the paints. I know this sounds so simple but I've never really bothered before as I wanted the one-coat solution. I was taught how to water the paint in the lid so that you don't need a tile and when you've finished the watered paint falls into the pot thus keeping it fresh and also keeping the wastage down. So these models are all done using thinned paints as well.
Some of these pictures blurred a bit - must get used to the camera.
All figures are from Black Scorpion.
5 Indians including the Outlaw Chief.

5 Mexicans

5 Outlaws

And there you have it. I also learnt how to mix colours so expect that on my next paint job - the Daemon Prince pictured previously. Oh and I will be experimenting with faces more soon as well.
I was asked the other day what the one best tip was that I learnt during my week at GW HQ. Having had a chance to think about it I have to say that the best thing for me is the fact I've been given the confidence to experiment and push myself with painting. I'm energised again!!


 Here we have Eddie artillery's Howling Griffons takin
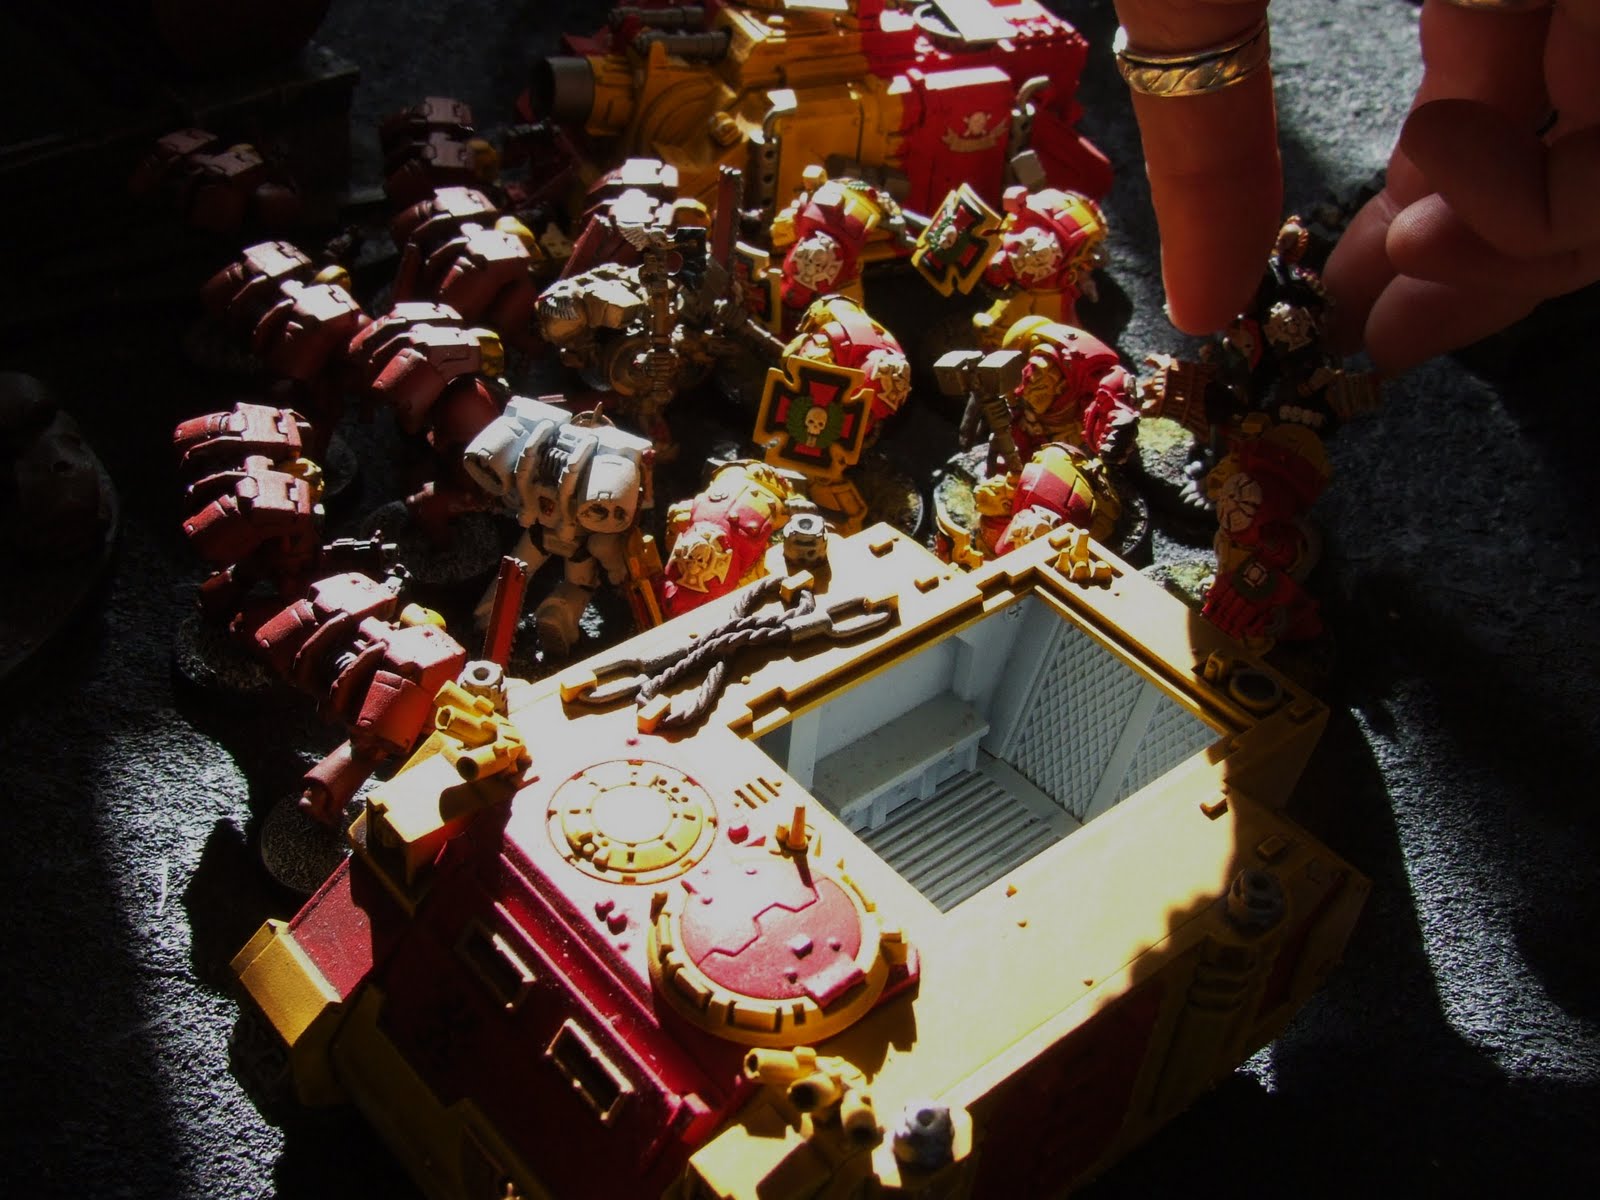


 My Ork army took on the might of this army in my first game, and a right royal d


